What quality control measures are used in the production of heat exchanger fixtures?
Precision Requirements and Dimensional Verification
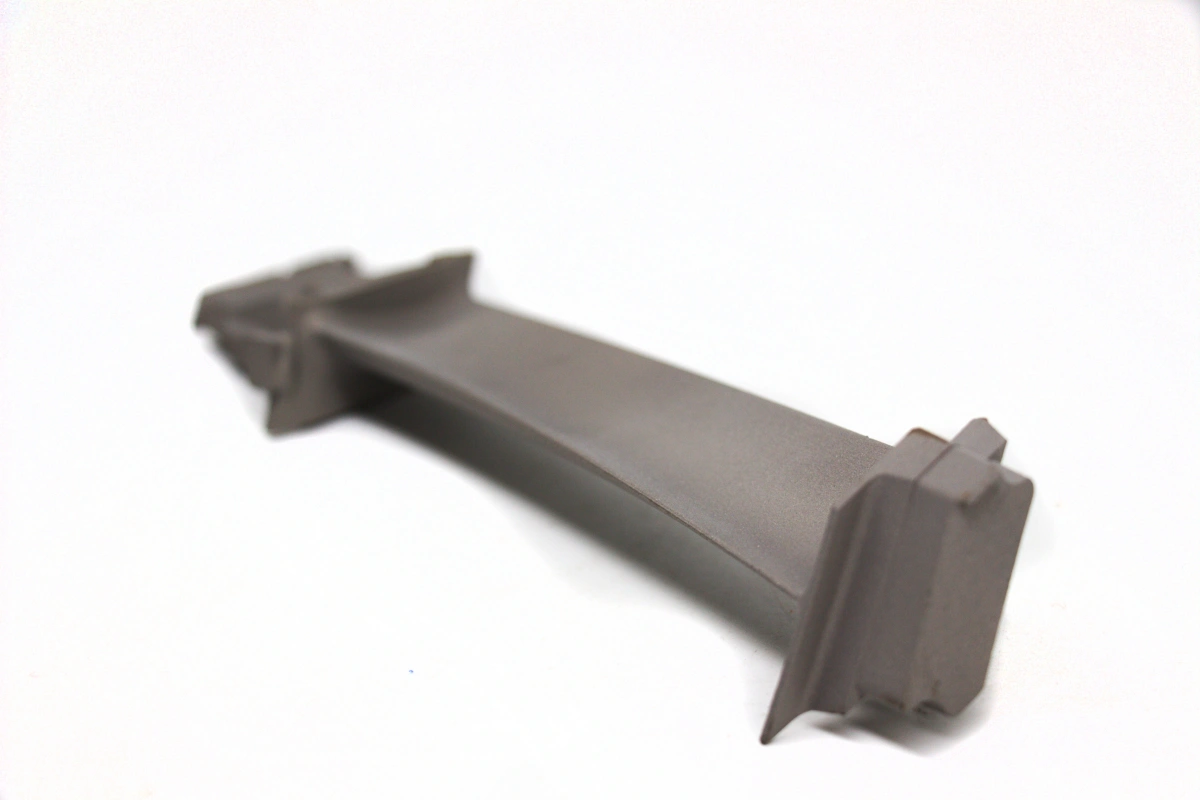
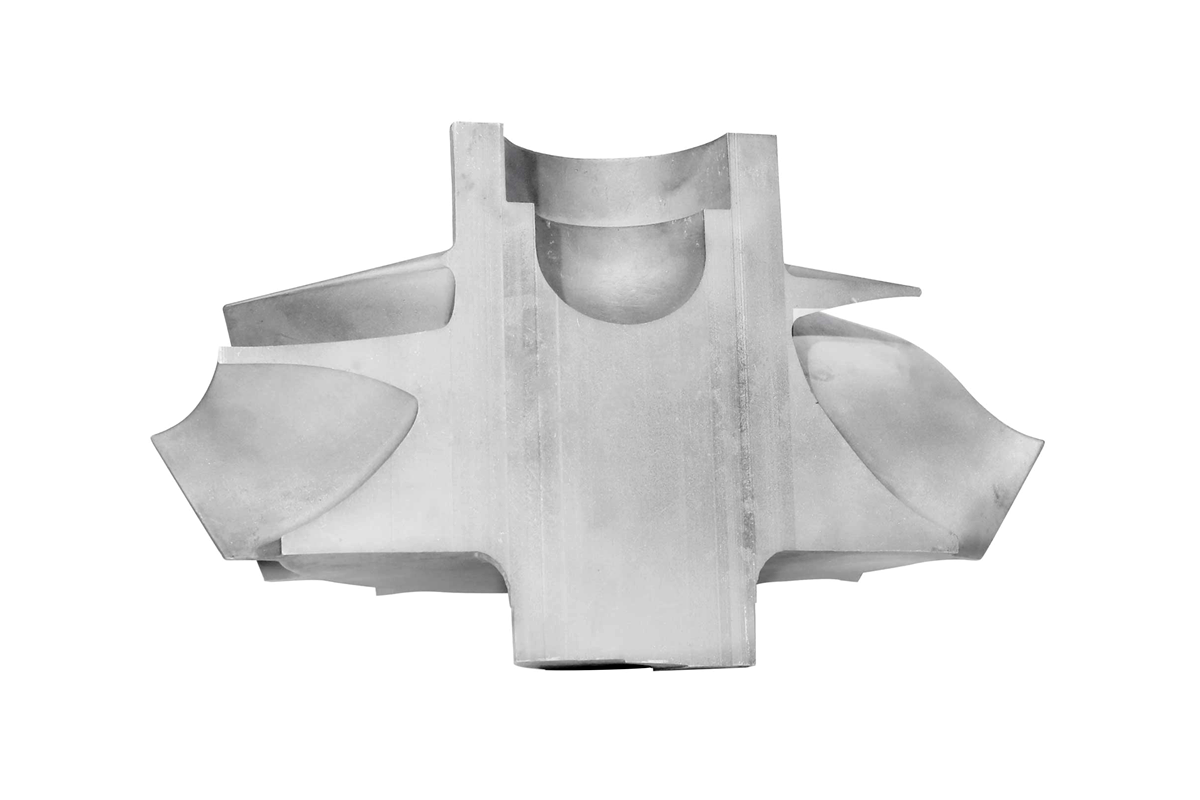
Heat exchanger fixtures, especially those fabricated from advanced superalloys, require precise dimensional tolerances to ensure proper alignment, efficient thermal transfer, and optimal mechanical stability. Production begins with a rigorous inspection of cast or forged preforms, utilizing vacuum investment casting or superalloy precision forging. Coordinate measuring machines (CMM) and laser scanning systems are used to verify geometric accuracy against CAD models. During machining, in-process measurements ensure that critical features such as alignment grooves, locating pins, and interface planes maintain sub-0.01 mm consistency.
Material Integrity and Non-Destructive Evaluation
Since fixtures operate under high thermal and corrosive loads, internal integrity verification is vital. Components manufactured via directional solidification or powder metallurgy undergo ultrasonic, X-ray, and dye penetrant inspections to detect inclusions, porosity, and micro-cracks. The superalloy material testing and analysis stage includes chemical composition checks using GDMS or OES to confirm alloy homogeneity and ensure conformity to aerospace-grade specifications such as AMS or ASTM standards.
Post-Process Validation and Heat Treatment Control
After forming, hot isostatic pressing (HIP) is applied to eliminate internal voids and improve fatigue strength. Heat treatment cycles are closely monitored through the use of thermocouples and data loggers to ensure precise phase transformations. Process traceability is maintained for every batch. Hardness testing and tensile sampling confirm that mechanical properties meet design criteria. Fixtures requiring oxidation or thermal fatigue protection receive thermal barrier coatings (TBC), followed by adhesion and thickness tests to validate coating performance.
Surface and Machining Quality Assurance
Final dimensional accuracy and surface integrity are validated through superalloy CNC machining and electrical discharge machining (EDM) processes. Machined surfaces undergo Ra measurement to confirm smoothness for thermal interfaces. Fixtures are further cleaned using ultrasonic or solvent-based degreasing to remove contaminants that could interfere with the performance of brazing or assembly.
Alloy and Application-Specific Assurance
Depending on the operating environment, materials such as Inconel 625, Hastelloy X, Nimonic 263, and Rene 77 are selected and validated for their thermal creep and corrosion resistance. Titanium alloys, such as Ti-6Al-4V, are suitable for lightweight, non-corrosive structures used in aerospace and aviation, power generation, and oil and gas applications. Batch-level inspection certificates and digital traceability ensure complete documentation for quality audits.
Final Assembly and Functional Testing
Before release, fixtures undergo pressure testing, thermal cycling simulation, and alignment verification under operational conditions. These tests validate that the assembly can sustain real-world stresses without deformation or leakage. The result is a heat exchanger fixture with proven mechanical reliability, thermal uniformity, and longevity under harsh service environments.


