How does the quality control process ensure reliability in alloy fittings?
Comprehensive Inspection Across Manufacturing Stages
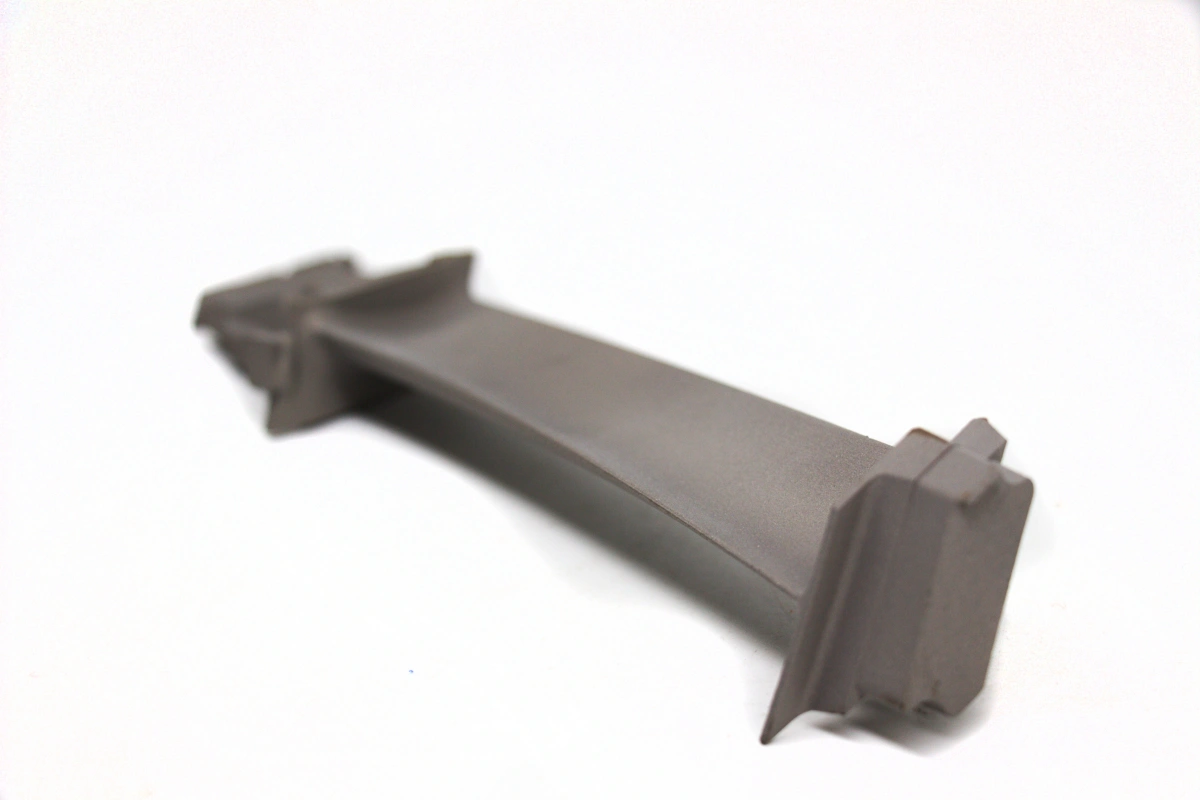
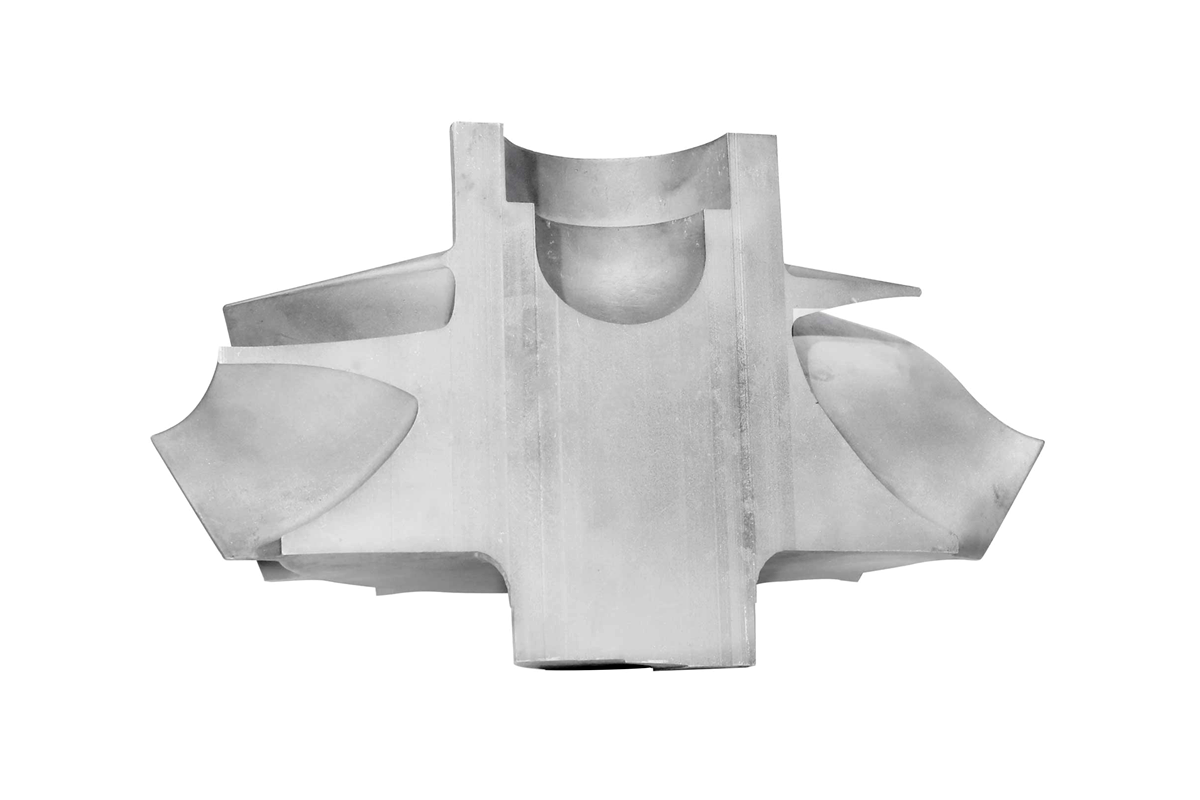
Reliability in alloy fittings begins with a structured, multi-stage quality control framework that monitors every phase of the production process. From vacuum investment casting and superalloy precision forging to machining and final assembly, dimensional checks and defect detection ensure compliance with engineering standards. Coordinate measuring machines (CMM), optical scanners, and surface profilometers are used to verify tight tolerances essential for sealing, pressure integrity, and geometric alignment. Each inspection step is digitally logged to maintain traceability for aerospace or energy certifications.
Non-Destructive Testing (NDT) and Material Verification
To confirm internal soundness, fittings undergo multiple forms of non-destructive testing. Ultrasonic and X-ray inspections detect porosity, inclusions, and subsurface discontinuities that could compromise pressure resistance. Dye penetrant or magnetic particle tests are used to identify surface cracks in high-stress regions. The superalloy material testing and analysis stage validates the chemical composition through spectrometric methods, such as OES or ICP, ensuring that alloys like Inconel 625, Hastelloy C-276, and Rene 95 meet the required specifications.
Post-Processing Quality Assurance
After initial forming, components receive densification via hot isostatic pressing (HIP), followed by heat treatment to stabilize microstructure and mechanical strength. Microhardness and tensile tests confirm compliance with design performance. When coatings such as thermal barrier coating (TBC) are applied, adhesion, thickness, and oxidation resistance are evaluated. Every post-processed batch is validated against metallurgical standards before proceeding to the finishing stage.
Machining and Dimensional Conformity
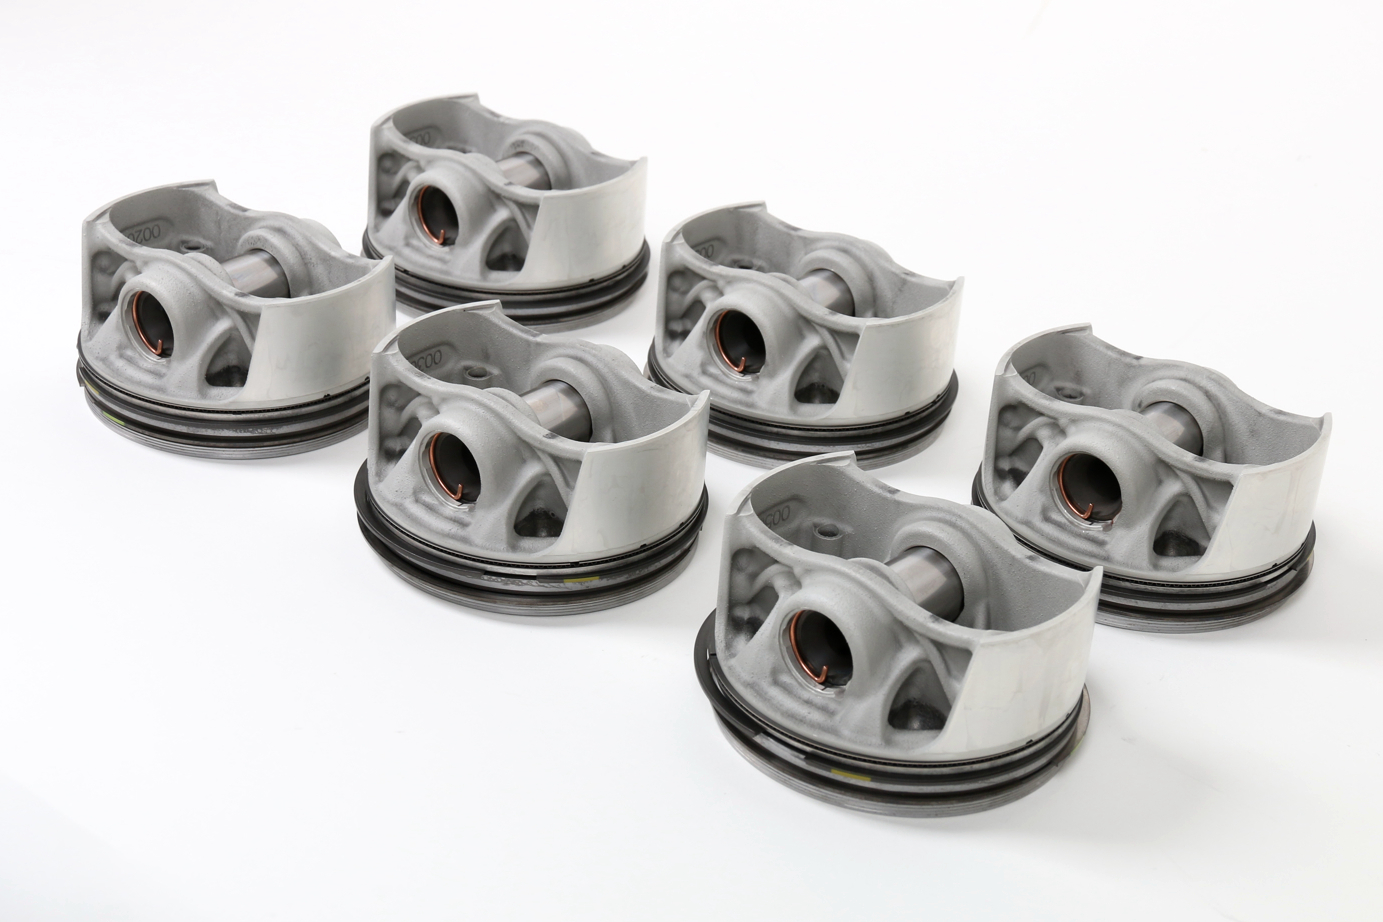
Precision finishing through superalloy CNC machining and electrical discharge machining (EDM) requires continuous verification to maintain dimensional accuracy and surface integrity. Surface roughness, circularity, and thread conformity are measured to ensure fittings meet sealing and alignment requirements in high-pressure assemblies. Any deviations are corrected immediately under closed-loop inspection protocols.
Industry-Specific Qualification and Performance Testing
Alloy fittings destined for aerospace and aviation, power generation, and oil and gas applications must withstand extreme fatigue and corrosion conditions. Accordingly, hydrostatic pressure, burst, and thermal cycling tests simulate real operating environments. Results are recorded in quality assurance documentation compliant with AS9100, ISO 9001, and API standards, ensuring consistent reliability and traceability.
Digital Traceability and Process Control
Each component’s production route, encompassing alloy batch, process parameters, and inspection records, is stored in a digital database. Statistical process control (SPC) and real-time monitoring help identify variations early, guaranteeing repeatable quality across production runs. This integration of digital control and metallurgical expertise ensures that every fitting meets design intent, safety requirements, and service longevity expectations.


