How does industrial CT scanning help detect internal defects in superalloy parts?
Non-Destructive Defect Detection
Industrial CT scanning is one of the most powerful non-destructive methods for evaluating the internal quality of superalloy parts produced by vacuum investment casting or superalloy 3D printing. Unlike traditional inspection techniques, CT scanning generates a full 3D reconstruction of the component, allowing engineers to visualize internal flaws without cutting or sectioning the part. This makes it ideal for high-value turbine blades, combustor components, or aerospace housings where structural integrity is critical.
The method detects shrinkage pores, inclusions, voids, lack of fusion, and even minute cracks that cannot be identified by surface-only inspections such as dye penetrant or magnetic particle testing.
Advanced Analysis of Casting Defects
Internal defects such as microshrinkage and segregation are common in equiaxed and directional castings. By using CT scanning before any post-processing steps, engineers can evaluate defect volume and distribution to determine whether corrective treatments like hot isostatic pressing (HIP) are necessary. In turbine components made via special alloy casting, the technology is essential for verifying the quality of cooling passages or thin-wall segments that cannot be inspected by conventional NDT techniques.
CT imaging also supports structural analysis of dendrite orientation and helps verify the accuracy of complex internal geometries created through additive manufacturing, ensuring dimensional integrity.
Integration with Process Optimization
Industrial CT scanning is not only used for defect detection—it also supports manufacturing optimization. By correlating detected defects with casting parameters, alloy composition, or mold design, engineers can adjust the production process to minimize defect recurrence. This feedback loop is valuable in precision manufacturing for sectors such as power generation and oil and gas, where even minor voids can compromise performance and pressure resistance.
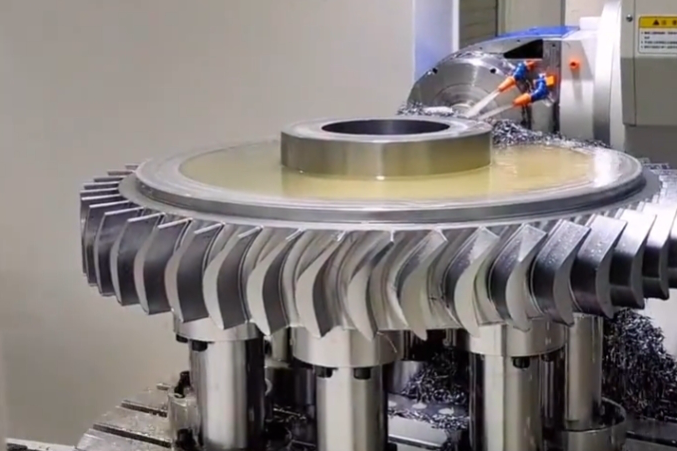
Following CT inspection, components are often machined using superalloy CNC machining or treated using heat treatment to restore geometry and improve microstructural stability.
Validation for Critical Applications
For mission-critical turbine blades, housings, or rotating components in military and defense sectors, CT scanning provides quantifiable data on defect size, location, and severity. This allows engineers to determine whether the part meets safety requirements or should undergo corrective treatment. Additionally, CT datasets can be used to create digital twins for lifetime prediction and fatigue performance simulation.
Through 3D visualization and precise defect characterization, industrial CT scanning plays a vital role in elevating the reliability and performance of modern superalloy components.


