Which testing methods best ensure the quality of single-crystal components?
Non-Destructive Evaluation Techniques
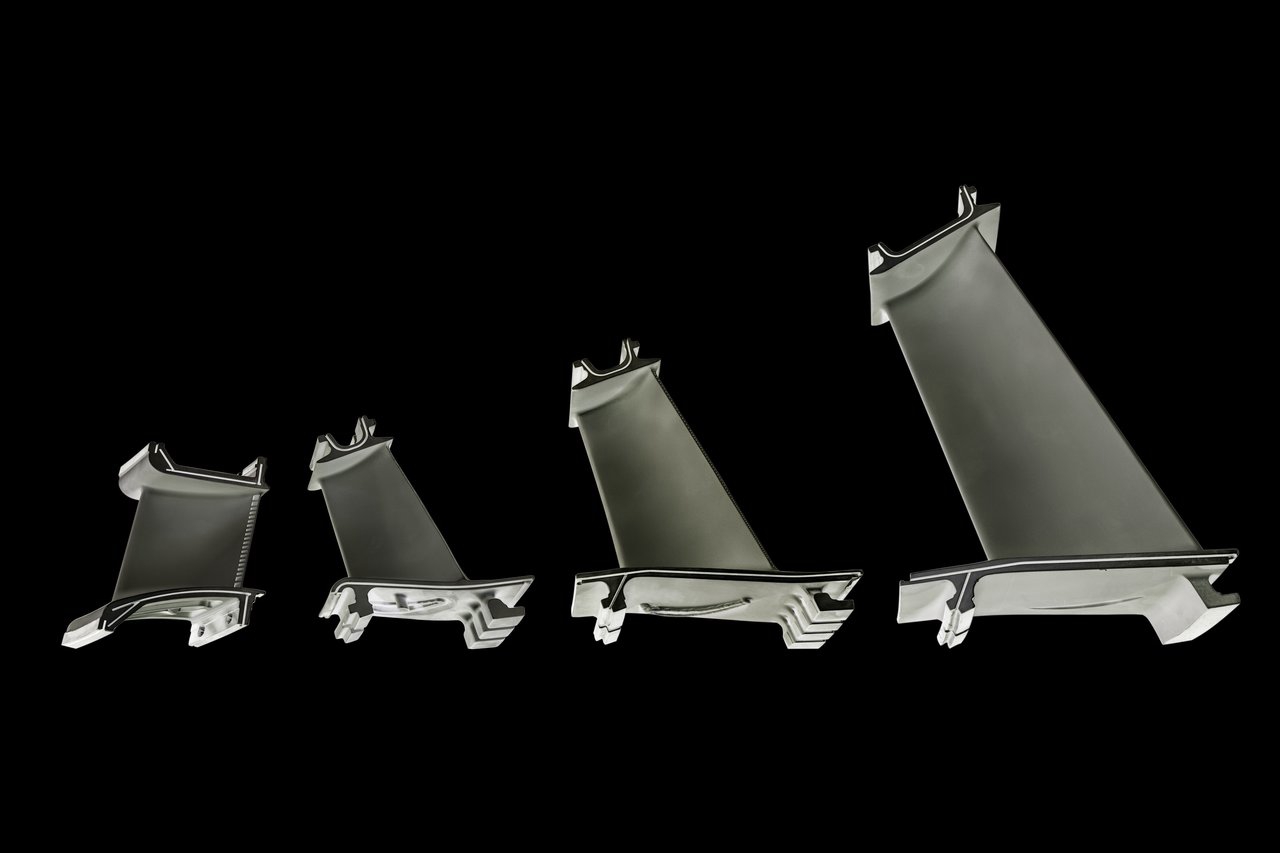
Quality assurance for single-crystal turbine blades and vanes relies heavily on advanced non-destructive testing (NDT) to verify internal integrity without damaging the part. High-resolution X-ray imaging and computed tomography (CT) are essential for detecting shrinkage porosity, stray grains, freckles, and misorientation defects characteristic of single crystal casting. Ultrasonic inspection is also used to assess internal discontinuities and to confirm consistent density throughout the component. These techniques provide early detection of casting anomalies before final machining or assembly.
Crystallographic Orientation Analysis
The crystallographic orientation of single-crystal components is critical to their performance. Methods such as Laue X-ray diffraction or electron backscatter diffraction (EBSD) precisely measure orientation relative to the intended ⟨001⟩ growth direction. Even slight deviations can degrade creep resistance and fatigue life, especially in aerospace turbine blades. Orientation mapping ensures that the seed-initiated growth propagated correctly and that no unintended grains or high-angle boundaries formed during solidification.
Mechanical and Thermal Performance Testing
Mechanical evaluation—including tensile, creep, and low-cycle fatigue testing—is essential for validating that the final properties match those expected from CMSX, Rene, or other high-performance superalloys. Creep testing, performed at extreme temperatures and stresses, confirms microstructural stability and γ/γ′ reinforcing phase performance. Thermal fatigue testing simulates cyclic heating conditions typical in power generation gas turbines, verifying resistance to crack initiation and propagation.
Post-Processing Validation and Microstructural Inspection
Post-cast treatments such as HIP and solution/aging heat treatment require additional verification. Metallographic analysis checks γ/γ′ distribution, dendrite arm spacing, and the absence of segregation remnants. Hardness testing and differential scanning calorimetry (DSC) confirm that thermal cycles have achieved the proper strengthening phases. Comprehensive material testing and analysis ensures long-term reliability under extreme operating conditions.


