What Testing Methods Verify the Quality of Seed Crystal Cast Components?
Non-Destructive Examination for Internal Integrity
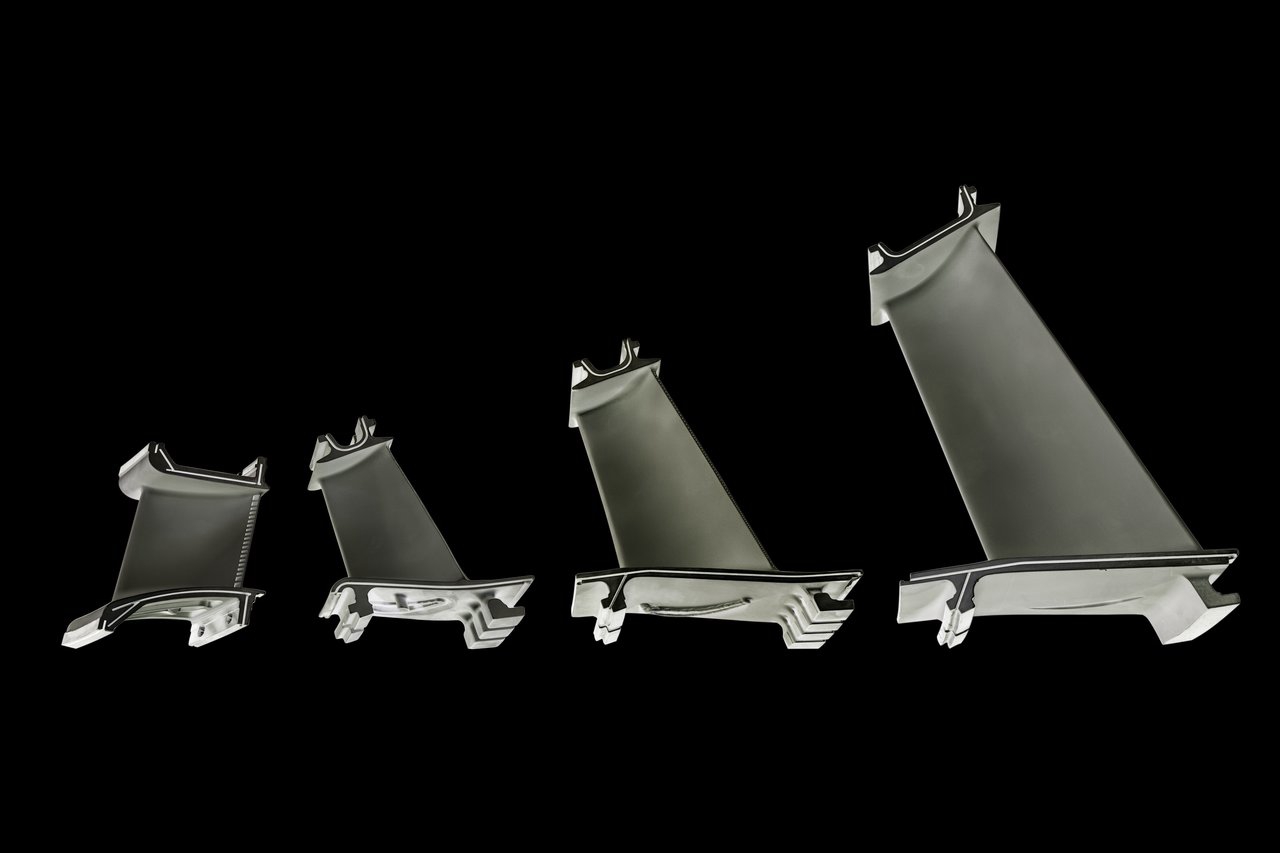
Verification begins with non-destructive testing (NDT) to inspect internal soundness without damaging the premium component. X-ray Radiography and Computed Tomography (CT) Scanning are paramount for detecting internal porosity, inclusions, or core shift within the intricate cooling channels of a cast turbine blade. These methods provide a 3D volumetric analysis, ensuring the internal geometry conforms to design and is free from critical flaws that could initiate cracks under stress. This is a standard part of comprehensive material testing and analysis protocols.
Microstructure and Crystallography Analysis
The core quality of a seed-cast component is its single crystal structure. Metallographic Preparation and Etching, followed by optical and scanning electron microscopy (SEM), is used to reveal the microstructure. Analysts check for the absence of grain boundaries, the presence and morphology of strengthening γ′ precipitates, and the uniformity of the crystal lattice. Specialized Electron Backscatter Diffraction (EBSD) mapping definitively confirms single-crystal integrity and measures crystallographic orientation, ensuring it aligns with the designed growth direction for optimal performance.
Chemical and Mechanical Property Validation
Chemical composition is verified using Spectroscopy (OES) and Inductively Coupled Plasma (ICP) analysis to ensure the alloy, such as CMSX-4 or Rene N5, meets exact specifications. Mechanical testing validates performance under simulated service conditions. This includes High-Temperature Tensile and Creep Testing to assess strength and deformation resistance, and High-Cycle Fatigue (HCF) Testing to evaluate lifespan under vibrational stresses. Samples are often taken from separately cast test bars that undergo the same process.
Surface Inspection and Dimensional Verification
Surface quality is critical for aerodynamic efficiency and coating adhesion. Visual Inspection under magnification, Fluorescent Penetrant Inspection (FPI), and Replica Microscopy are employed to detect surface cracks, pores, or irregularities. Coordinate Measuring Machine (CMM) scanning and optical 3D profilometry are used for precise dimensional verification, ensuring the complex airfoil contour, wall thicknesses, and critical features meet the stringent tolerances required for aerospace and aviation applications.
Performance Validation Through Simulation
Final validation often involves performance simulation. This can include Pressure Testing of internal cooling channels to check for leaks and Thermal Imaging during bench tests to verify uniform cooling efficiency. Data from all previous tests feed into quality models, ensuring each component not only passes individual checks but is also statistically validated for reliability in the extreme environments of power generation or propulsion systems.


