What testing methods ensure the quality of single crystal guide blades?
CT and X-Ray Imaging
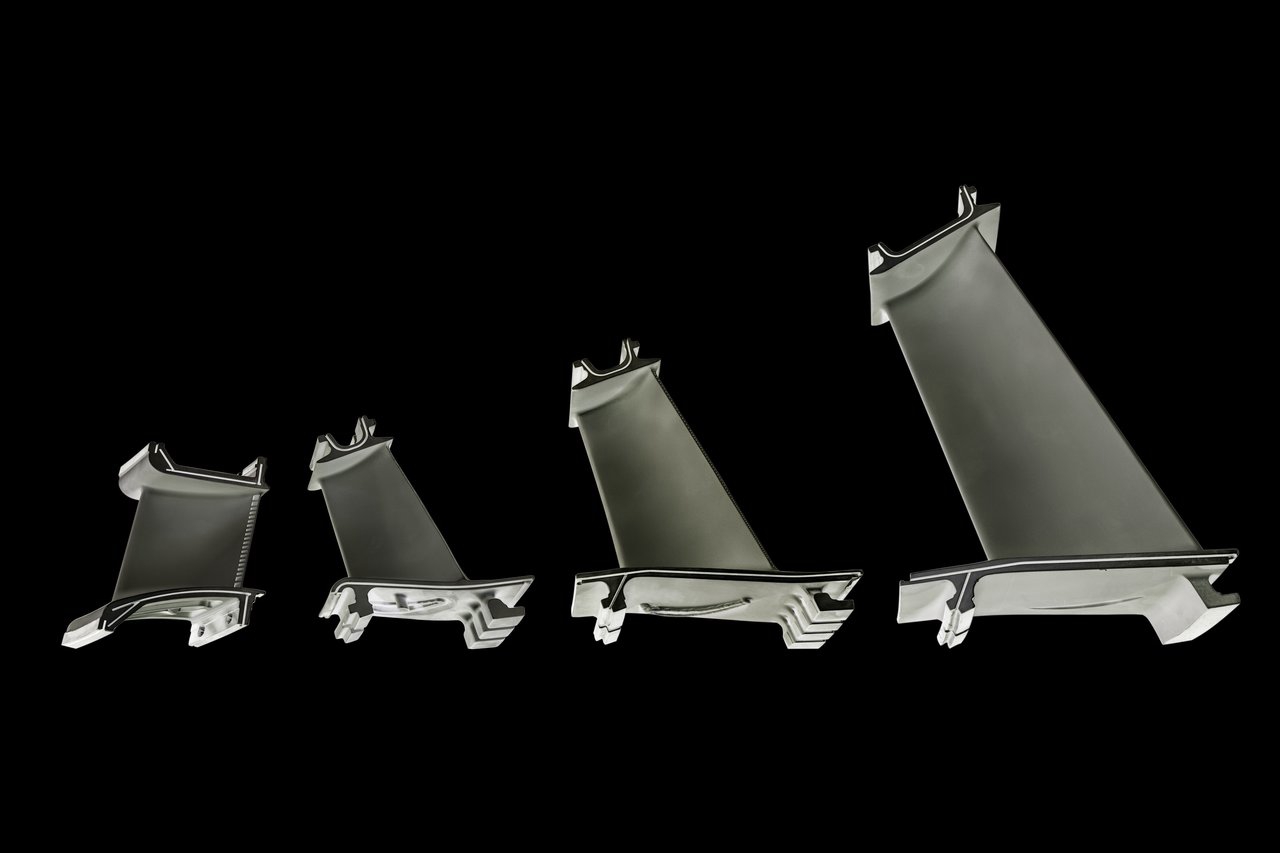
High-resolution X-ray radiography and computed tomography (CT) are the most effective non-destructive inspection methods for verifying the internal integrity of single crystal guide blades. These techniques detect porosity, shrinkage defects, freckles, and stray grains, while CT provides full 3D visualization of internal cooling channels—critical for confirming core alignment, wall thickness accuracy, and passage continuity.
Ultrasonic and Subsurface Evaluation
High-frequency ultrasonic testing (UT), including phased-array UT, is used to identify subsurface inclusions, localized porosity, and structural discontinuities. Although single crystal materials exhibit anisotropic acoustic behavior, specialized calibration allows UT to reliably assess subsurface integrity in platforms, fillets, and root regions of guide blades used in power generation and aerospace engines.
Metallography and Microstructure Verification
Detailed metallographic analysis confirms dendrite arm spacing, γ/γ′ distribution, and evidence of microsegregation. Polished cross-sections also reveal potential recrystallization regions or misoriented grains. These examinations validate whether post-process treatments—such as heat treatment or HIP—have successfully homogenized the microstructure to meet single-crystal performance standards.
Surface Integrity Inspection
Fluorescent penetrant inspection (FPI) detects surface-breaking cracks, microfissures, or cooling-hole defects. Since guide blades undergo machining, EDM drilling, and coating processes, FPI is crucial to ensure that no surface flaws exist that could propagate under high-temperature fatigue conditions.
Advanced Material Characterization
Elemental analysis through spark emission spectroscopy and full material testing and analysis validates chemical uniformity. Any deviation in alloy chemistry can indicate segregation issues or contamination, both of which correlate with reduced high-temperature durability and creep performance.
Mechanical and Thermal Performance Testing
Mechanical tests—creep, tensile, and low-cycle fatigue (LCF)—simulate real operating conditions. Oxidation and thermal-cycle tests ensure the blade can withstand long-term hot-gas exposure. These evaluations confirm the guide blade’s reliability before integration into high-pressure turbine stages.


