What testing methods detect internal defects in single crystal guide vanes?
X-Ray and CT Inspection
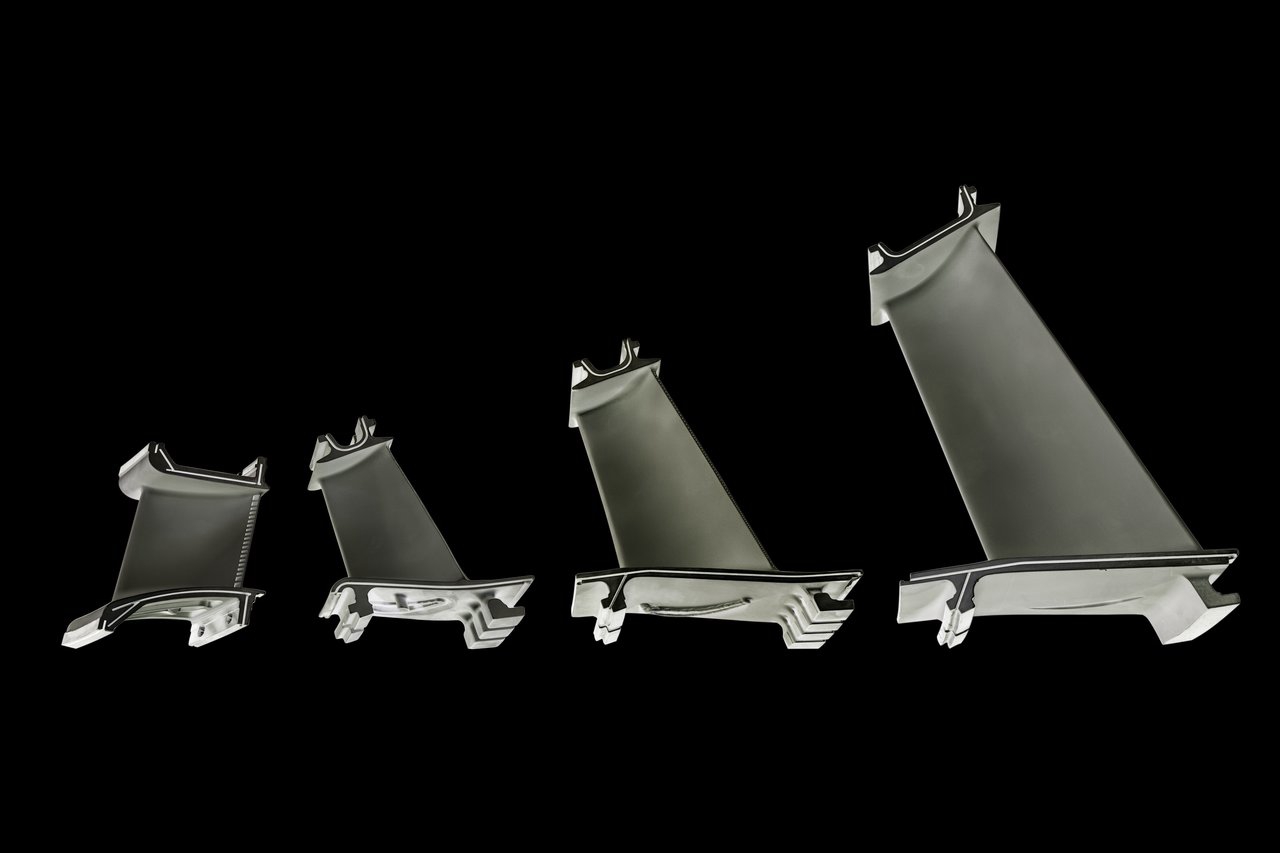
High-resolution X-ray radiography and computed tomography (CT) are the most effective non-destructive methods for detecting internal defects in single crystal guide vanes. These imaging techniques reveal porosity, shrinkage, freckles, stray grains, and internal misorientations that compromise creep resistance. CT scanning provides full 3D visualization of cooling channels, ensuring core placement accuracy and verifying that no blockages or thin-wall distortions occurred during casting.
Ultrasonic Testing for Subsurface Defects
Advanced ultrasonic testing (UT), especially high-frequency phased array UT, detects subsurface inclusions, localized porosity, and structural discontinuities. Although UT is more challenging in single crystal materials due to anisotropic sound velocity, specialized calibration and directional transducers allow precise detection of imperfections in vane platforms, fillets, and airfoil roots.
Metallography and Microstructure Analysis
Metallographic examination is used to analyze dendrite arm spacing, γ/γ′ phase distribution, and microsegregation. Cross-sectional polishing reveals whether heat treatment homogenization was effective and whether recrystallization or misoriented grains exist. These microstructural insights are essential for validating the structural stability of guide vanes that operate in the hot gas path of power generation and aerospace turbines.
Penetrant Inspection for Surface-Connected Cracks
Fluorescent penetrant inspection (FPI) detects surface-breaking cracks, microfissures, or casting-induced defects that may extend inward. Although FPI does not reveal deep internal flaws, it is critical for ensuring that machining, cooling hole drilling, and post-processing steps have not introduced surface defects that could propagate under high-temperature cyclic loading.
Chemical and Elemental Testing
Elemental verification through spark emission spectroscopy and full material testing and analysis ensures alloy chemistry uniformity, detecting contamination or segregation that might correlate with internal casting defects. Chemical accuracy is essential for maintaining phase stability and long-term oxidation resistance in single crystal vanes.


