What testing methods best detect defects in single crystal turbine blades?
X-Ray and CT Imaging
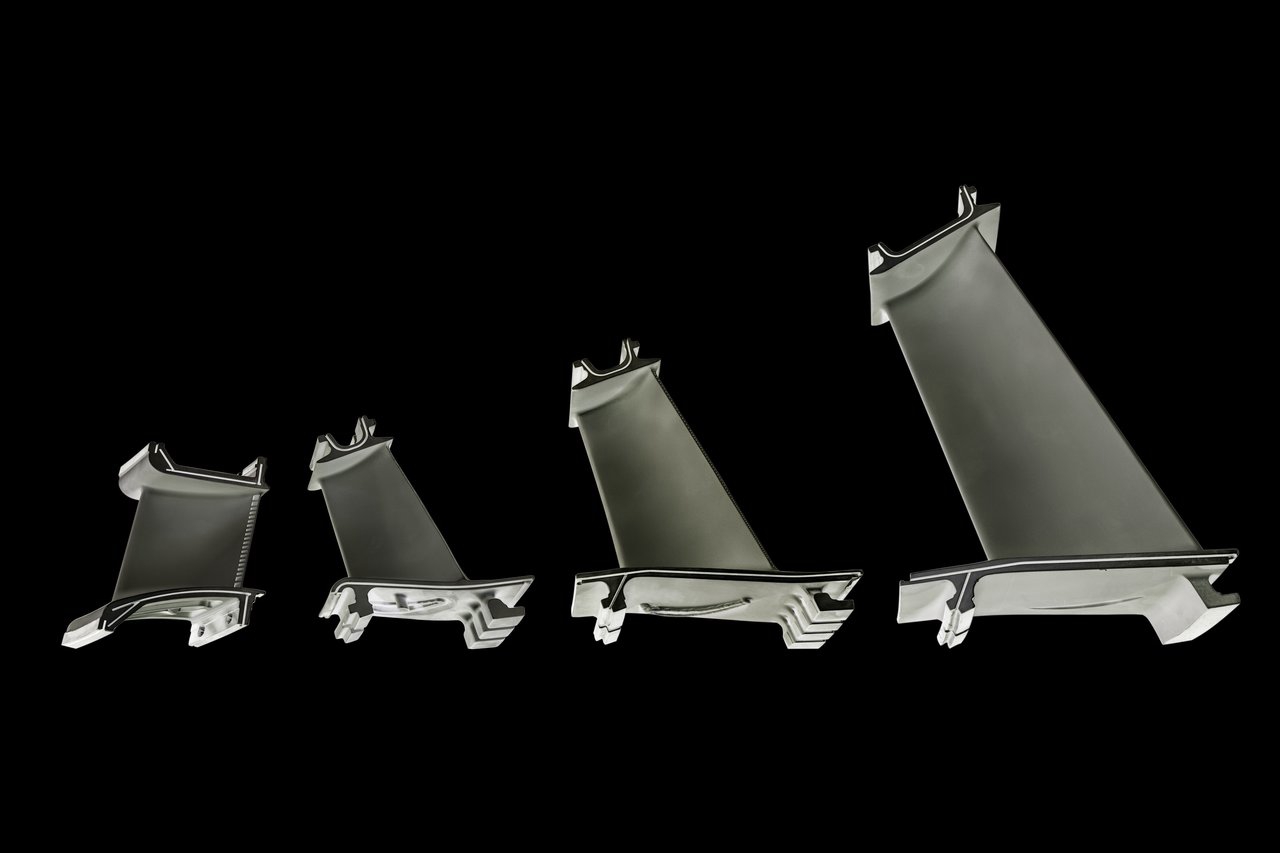
High-resolution X-ray radiography and computed tomography (CT) are the most effective non-destructive methods for identifying internal defects in single crystal turbine blades. These techniques detect porosity, shrinkage cavities, stray grains, and freckle defects that can compromise creep performance. CT scanning provides full 3D visualization of the blade’s internal cooling channels—critical for verifying dimensional accuracy and internal structural integrity.
Material Analysis and Microstructure Evaluation
Advanced metallographic examinations are used to verify dendrite arm spacing, γ/γ′ phase distribution, and potential recrystallization zones. Polished cross-sections reveal microsegregation patterns and confirm whether post-process treatments, such as heat treatment or hot isostatic pressing (HIP), have achieved the desired homogenization. These analyses help validate the stability of the single-crystal microstructure under high-temperature service conditions.
NDT Methods for Surface and Subsurface Defects
Fluorescent penetrant inspection (FPI) is widely used to detect surface-breaking cracks, microfissures, or machining-induced damage. Ultrasonic testing (UT), particularly high-frequency phased array UT, can identify subsurface defects such as inclusions or localized porosity. These methods ensure that both surface integrity and deeper structural consistency meet the stringent requirements of aerospace and aviation turbine systems.
Mechanical and Performance Validation
Mechanical tests—including creep testing, tensile testing, and low-cycle fatigue (LCF) evaluations—verify whether the blade will maintain structural integrity under real-world thermal and mechanical loads. Complementary techniques such as thermal fatigue simulation and oxidation testing confirm resistance to degradation during long-term high-temperature operation.
Comprehensive Material Testing
To ensure full conformance, OEMs and foundries often rely on integrated verification systems that combine NDT, CT scanning, and full elemental characterization through material testing and analysis. This multi-level approach provides robust confirmation that no microstructural, chemical, or geometric defects exist—critical for guaranteeing the reliability of single crystal turbine blades in high-temperature engines.


