What is the role of X-ray testing in detecting inclusions in metal parts?
Fundamental Role in Non-Destructive Evaluation
X-ray testing plays a critical role in non-destructively detecting inclusions—non-metallic impurities such as oxides, sulfides, or ceramic fragments—within solid metal components. The core principle relies on differential X-ray absorption. Dense, high-atomic-number metallic material absorbs more radiation, while lower-density inclusions or voids allow more rays to pass through, creating discernible contrast variations on a detector. This allows for the visual identification of internal flaws that could severely compromise mechanical properties, such as fatigue strength and fracture toughness, especially in high-performance materials like casting superalloys used in critical applications.
Methodology and Detection Capabilities
The process involves directing X-rays through a part onto a digital detector or film. Inclusions appear as distinct, often irregularly shaped, lighter regions within the uniform gray backdrop of the sound metal. Computed Tomography (CT) scanning, an advanced form of X-ray testing, provides a three-dimensional volumetric model, enabling precise localization and sizing of inclusions in all three axes. This is vital for assessing the severity of a defect according to industry standards (e.g., ASTM, AMS). The method is exceptionally effective for inspecting complex vacuum investment castings and parts manufactured via powder metallurgy, where inclusion risks exist from raw material or processing.
Application in Manufacturing and Quality Assurance
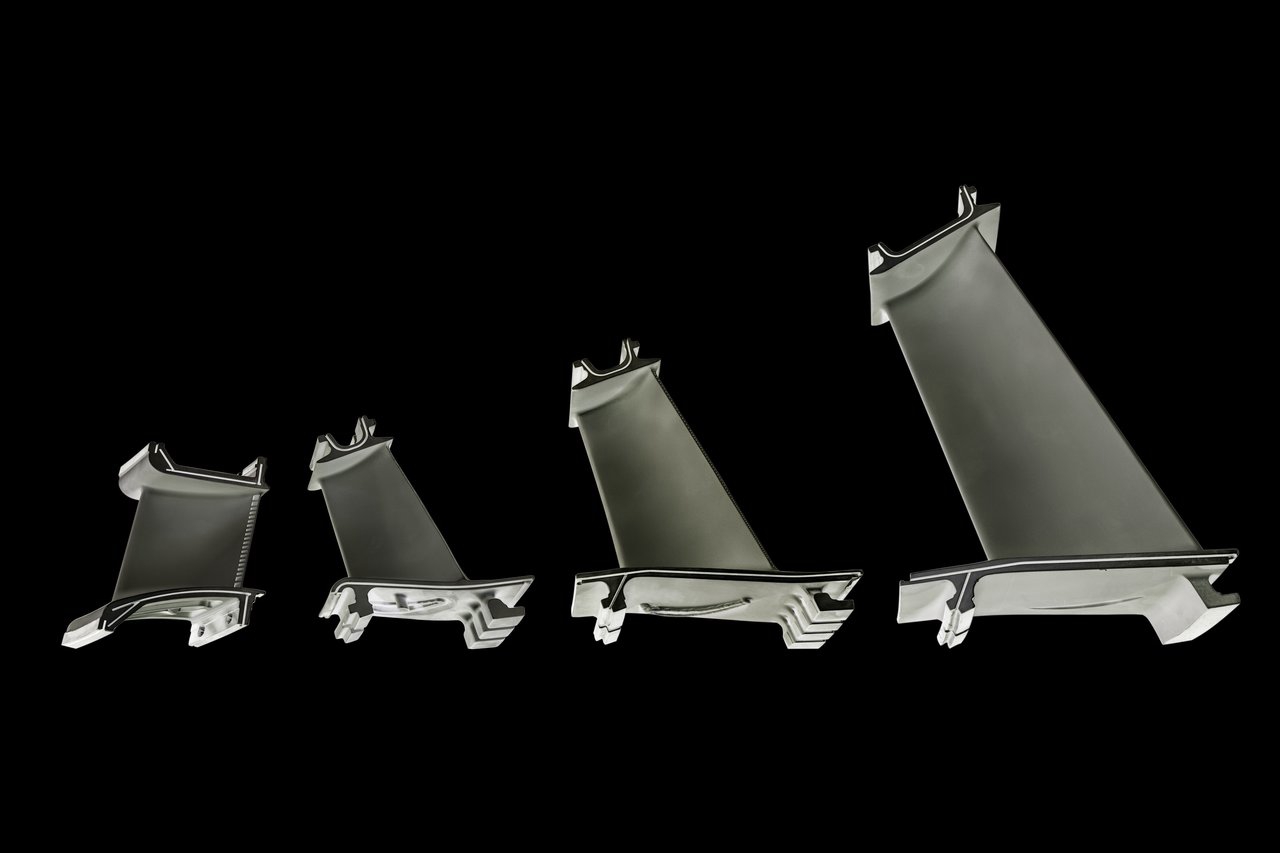
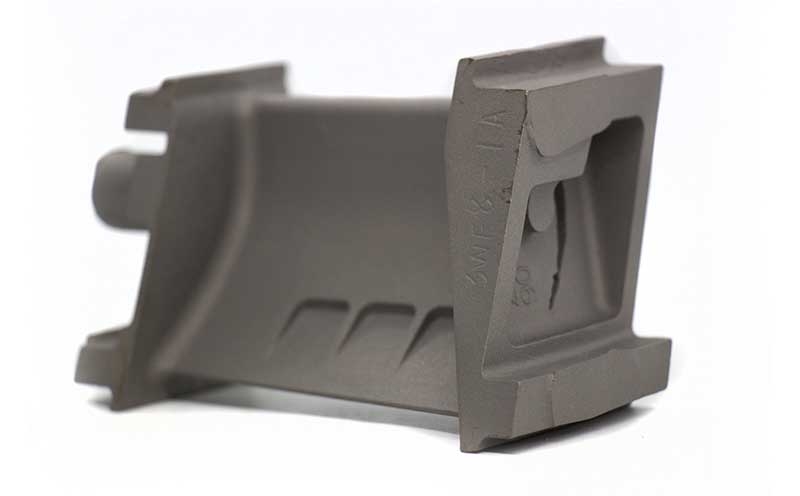
In the manufacturing workflow, X-ray testing is a cornerstone of quality assurance. It is applied to validate the integrity of raw material stock, intermediate cast or forged forms, and finished machined parts. For instance, an inclusion in a directionally solidified turbine blade can act as a stress concentrator, initiating a crack under thermal cycling. By detecting such flaws early, manufacturers can scrap or repair defective components before they proceed to costly CNC machining or are integrated into an assembly for aerospace and aviation engines, preventing potential in-service failures.
Integration with Other Processes and Analysis
X-ray testing is not a standalone activity; it integrates seamlessly with other post-processing and validation steps. Findings from X-ray inspection often dictate the next steps. A part with minor, acceptable inclusions may proceed to Hot Isostatic Pressing (HIP), which can close some micro-porosity (though not large, solid inclusions). Components destined for high-integrity nuclear or military and defense applications undergo rigorous X-ray scrutiny as part of a comprehensive material testing and analysis protocol, which may include chemical and mechanical tests to correlate inclusion content with performance metrics.


