How does testing ensure the quality and reliability of single-crystal turbine blades?
Internal Defect Detection with CT and X-Ray
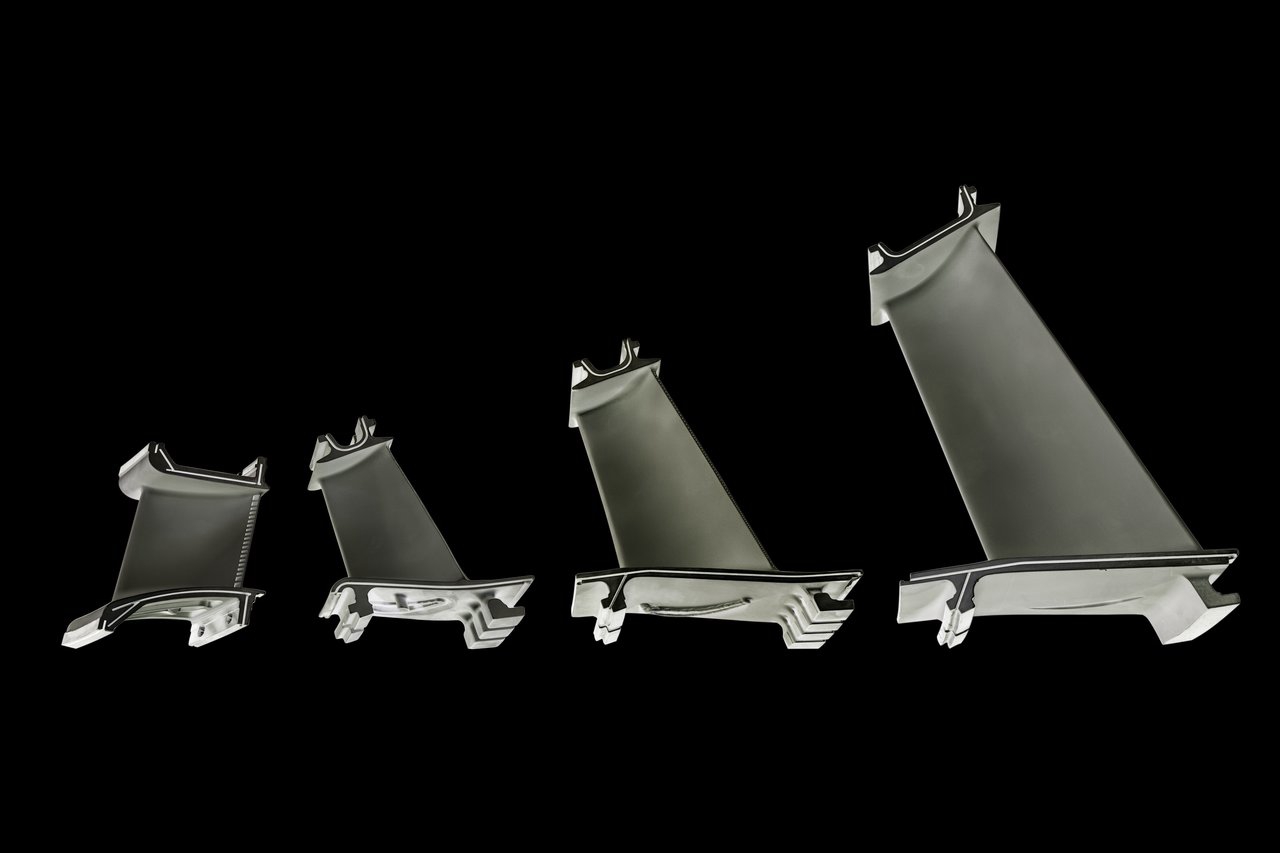
High-resolution X-ray radiography and computed tomography (CT) are essential for verifying the internal integrity of single-crystal turbine blades. These imaging methods detect porosity, shrinkage cavities, freckles, and stray grains—defects that can severely reduce creep performance. CT’s 3D visualization capability is particularly important for confirming cooling-channel geometry, core placement accuracy, and uniform wall thickness.
Metallographic Validation of Microstructure
Metallographic examination provides a detailed understanding of dendrite arm spacing, γ/γ′ phase distribution, and microsegregation. By preparing polished cross-sections, engineers can verify whether heat treatment and homogenization cycles successfully produced a stable single-crystal microstructure without recrystallized zones or misoriented grains. This microstructure verification ensures long-term mechanical stability at turbine firing temperatures.
Ultrasonic Subsurface Assessment
High-frequency ultrasonic testing (UT), including phased-array UT, is used to identify subsurface inclusions, delaminations, and localized porosity. Although SX alloys exhibit anisotropic acoustic behavior, specialized directional probes allow detection of hidden structural anomalies in blade platforms, fillets, and root attachment regions—critical for ensuring mechanical integrity under high centrifugal loads.
Surface Integrity and Crack Detection
Fluorescent penetrant inspection (FPI) detects surface-connected cracks, cooling-hole defects, and machining-induced microdamage. Because turbine blades undergo drilling, EDM machining, coating, and polishing, FPI is essential for verifying that no surface flaws exist that could propagate under cyclic thermal loading.
Mechanical and Thermal Performance Testing
Creep, tensile, and low-cycle fatigue (LCF) tests replicate real engine conditions to validate blade strength and durability. Oxidation and thermal-cycle testing confirm resistance to high-temperature corrosion and thermal fatigue cracking. Combined, these tests ensure that blades maintain structural and aerodynamic stability over thousands of operating hours in aerospace and power generation turbines.
Chemical Analysis and Alloy Verification
Elemental analysis, performed through methods such as spark emission spectroscopy or full material testing and analysis, ensures alloy composition matches required specifications. Chemical uniformity is critical to maintaining γ′ stability and preventing hot-section degradation, directly affecting blade lifespan and reliability.


